When I first started photography almost a year ago, I was going through a difficult time in my graduate school career. In the fall season of 2019, I started writing my master’s thesis only to eventually realize that I didn’t feel passionate about my research. This experience discouraged me and withered my enthusiasm to continue writing. Looking for ways to cope with these circumstances, I decided to start a new hobby.
It would be misleading of me to say that I knew what I was getting myself into when I chose to become a photographer. I thought it would be easy. After all, how hard could it be to take good pictures? Surprisingly, my journey in photography challenged this notion and gave me a newfound appreciation for photography as an art form.
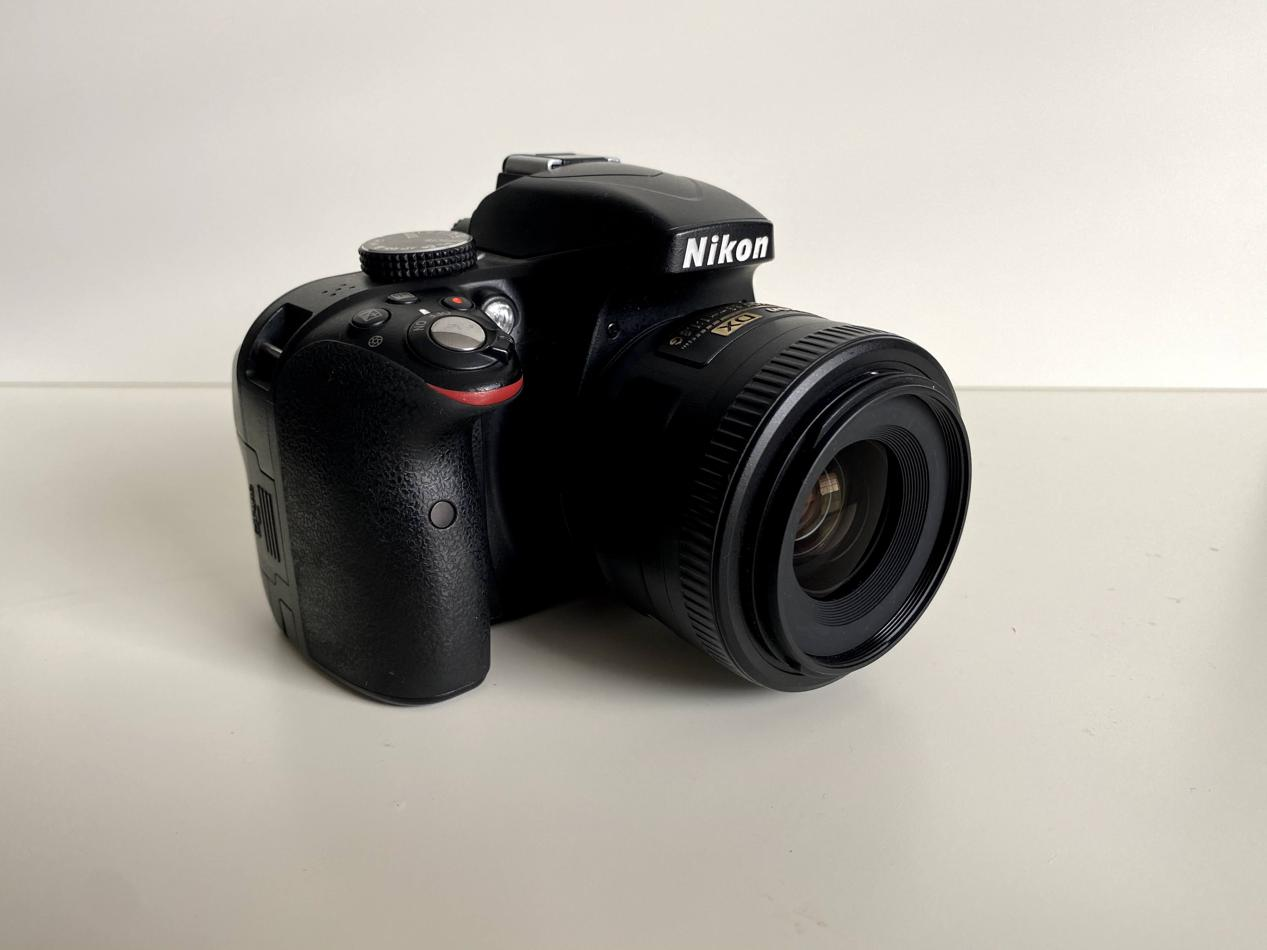
My journey began on October 19th, 2019, the day I bought a used camera: a Nikon D3300 along with a 35 mm prime lens. When I first held my camera in my hands, I pored over it as if it was a technological marvel. So much so that I felt like a caveman who had just discovered fire when I finally figured out how to take my first picture. Now, what exactly was I going to photograph? In this blog post, I will showcase
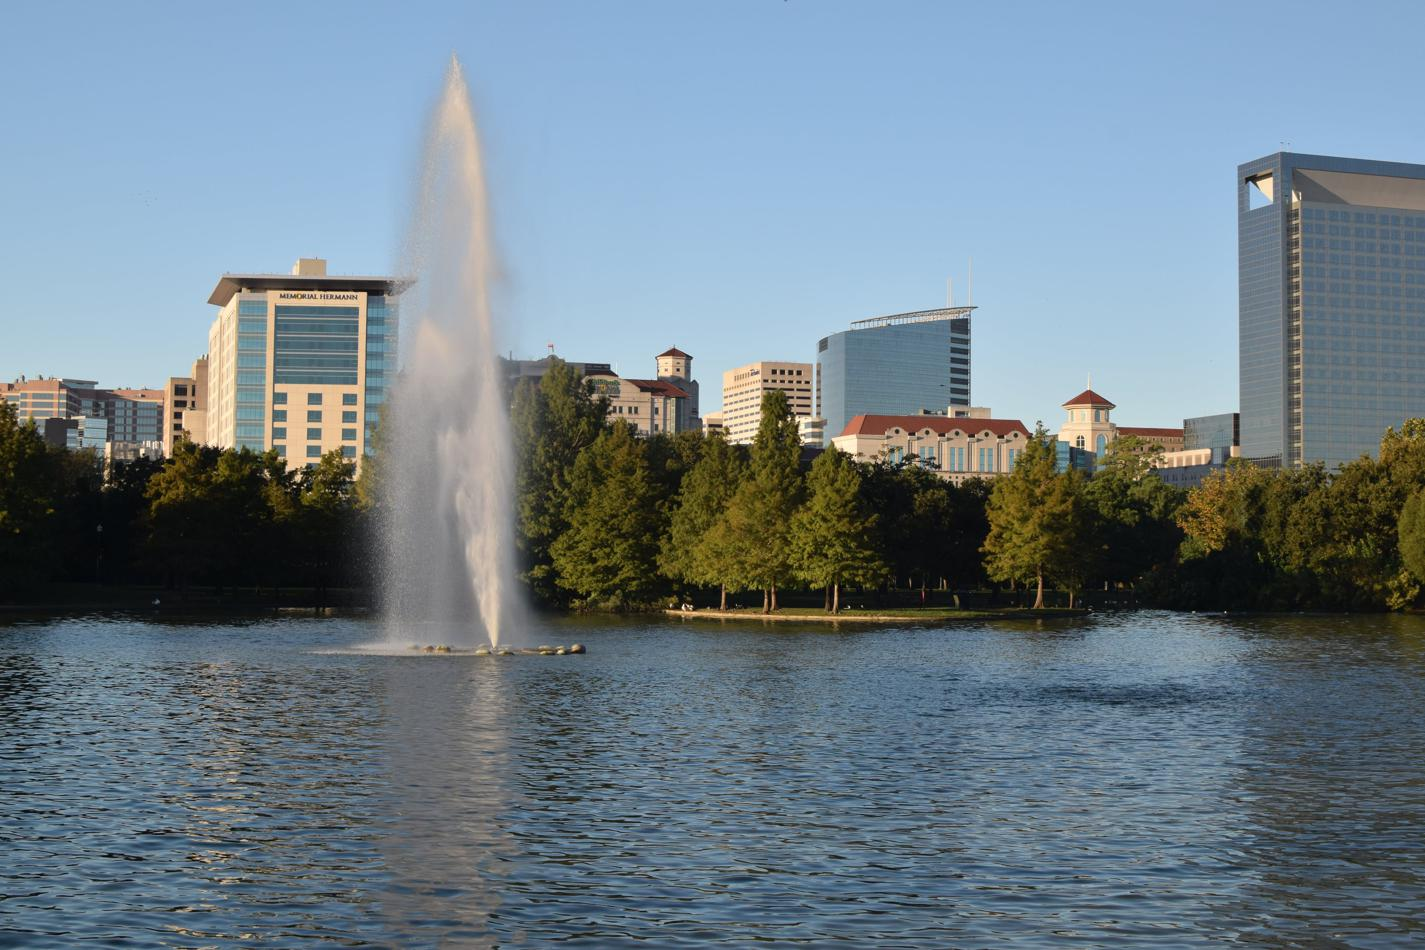
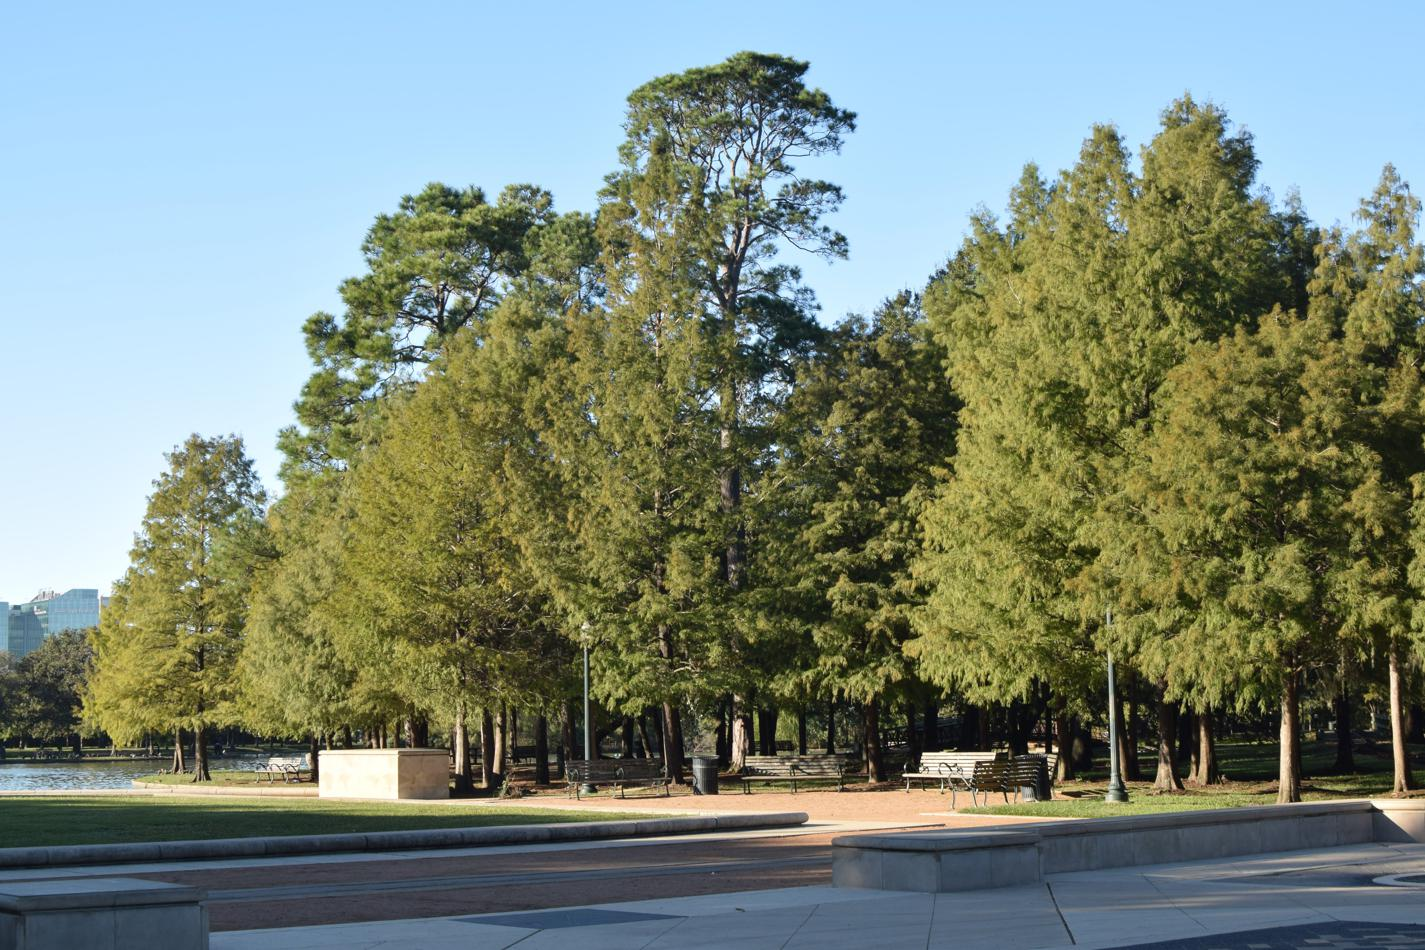
I held my first photography sessions at Hermann Park. Here, I wandered around, taking snapshots of scenes that grabbed my attention. I often didn’t know what I was doing; that hardly prevented me from enjoying myself. On days where writing my thesis took a toll on me, I would schedule more time to go outside to take pictures.
Learning the Technical Aspects of Photography
Within my first two months as a photographer, I learned how to operate my camera. During this process, I ascertained how to focus my camera, investigated three distinct camera settings that determined the quality of my photographs, and discovered additional features that made my camera easy to use.
At first, I didn’t understand how to focus the camera lens at a fixed position. This frustrated me as some of my photos looked very sharp, whereas others appeared quite blurry. It took me a few visits to my camera’s manual before I finally understood how to control the autofocus settings.
Everything finally clicked for me one day when I practiced focusing my camera on various objects in my apartment. It came as a surprise when I realized that my camera could focus on scenes with prominent contours but would struggle to focus on areas with little contrast. For example, it couldn’t focus directly on the walls in my apartment. Yet, it could easily focus on wall corners, where two adjacent walls united to form a well-defined edge. This insight marked a small but significant step towards understanding my camera’s capabilities.
I also spent time analyzing how the shutter speed, ISO sensitivity, and aperture settings on my camera affected my photographs. Despite reading various articles and watching many videos about this, I experimented with these different settings to fully grasp their significance. I would photograph the same scenes several times—each captured with distinct settings for the lens aperture, shutter speed, and ISO.
In the process, I devised some very rough, approximate rules of thumb to guide me. A wider aperture setting could produce a blurry background, commonly referred to as a shallow depth of field, around my subject. To negate this, I needed to set the lens aperture to be more closed. The shutter speed setting dealt primarily with handling motion blur. At high enough shutter speeds, my camera could effectively capture a photo with all motion frozen. Finally, the ISO setting, which controls the camera’s sensitivity to light, needed to be adjusted to make sure that the photo would be adequately bright.
I found it difficult to mentally juggle each of these individual rules at the same time so I began using my camera in the aperture-priority mode instead. Essentially, this mode allowed me to control just the aperture. The camera would then automatically pick a suitable ISO and shutter speed.
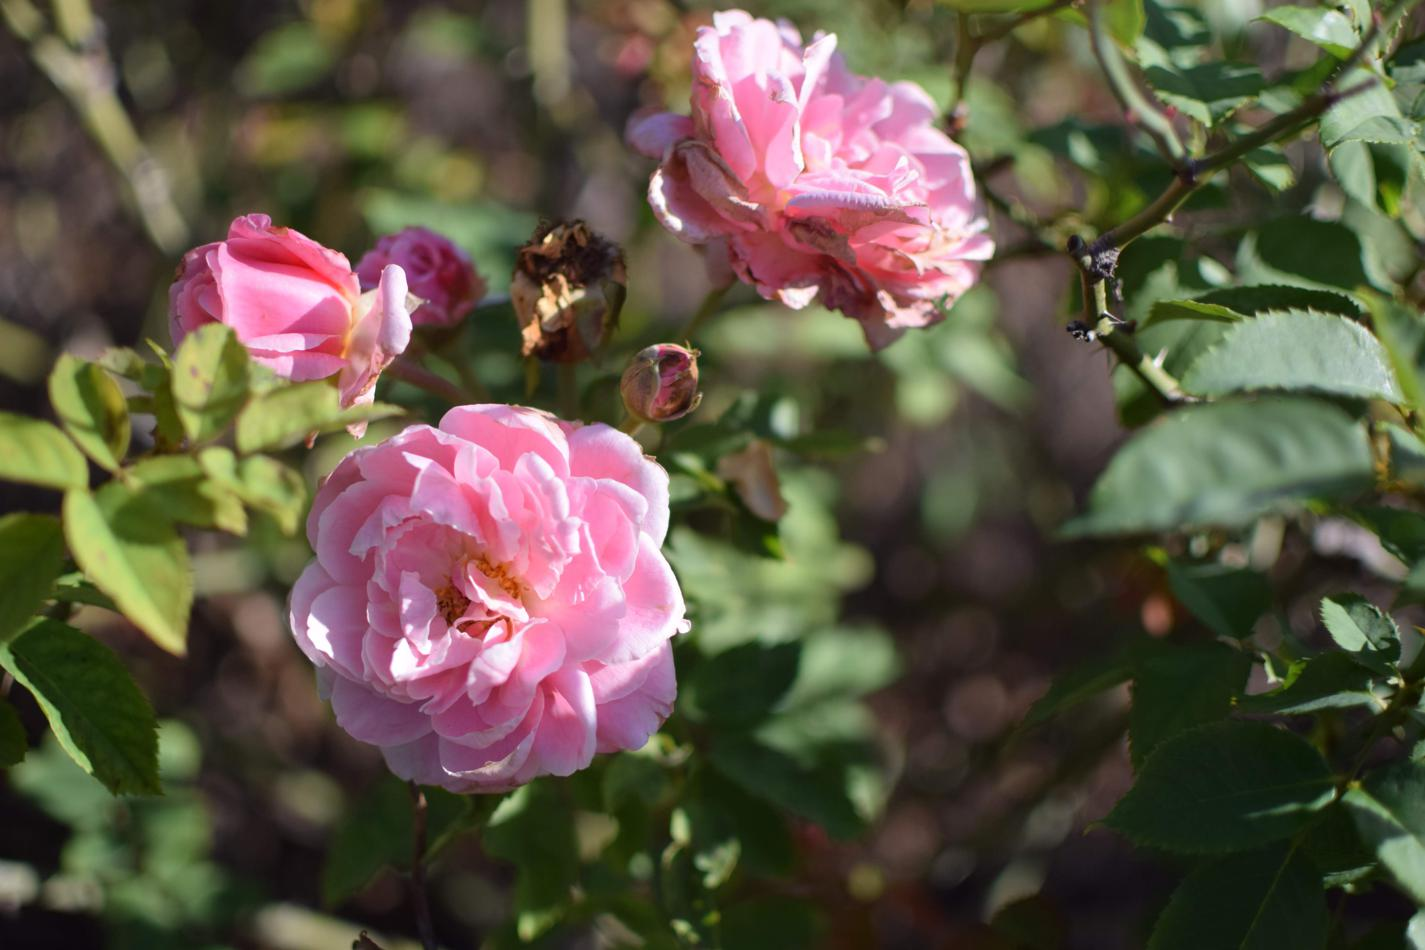
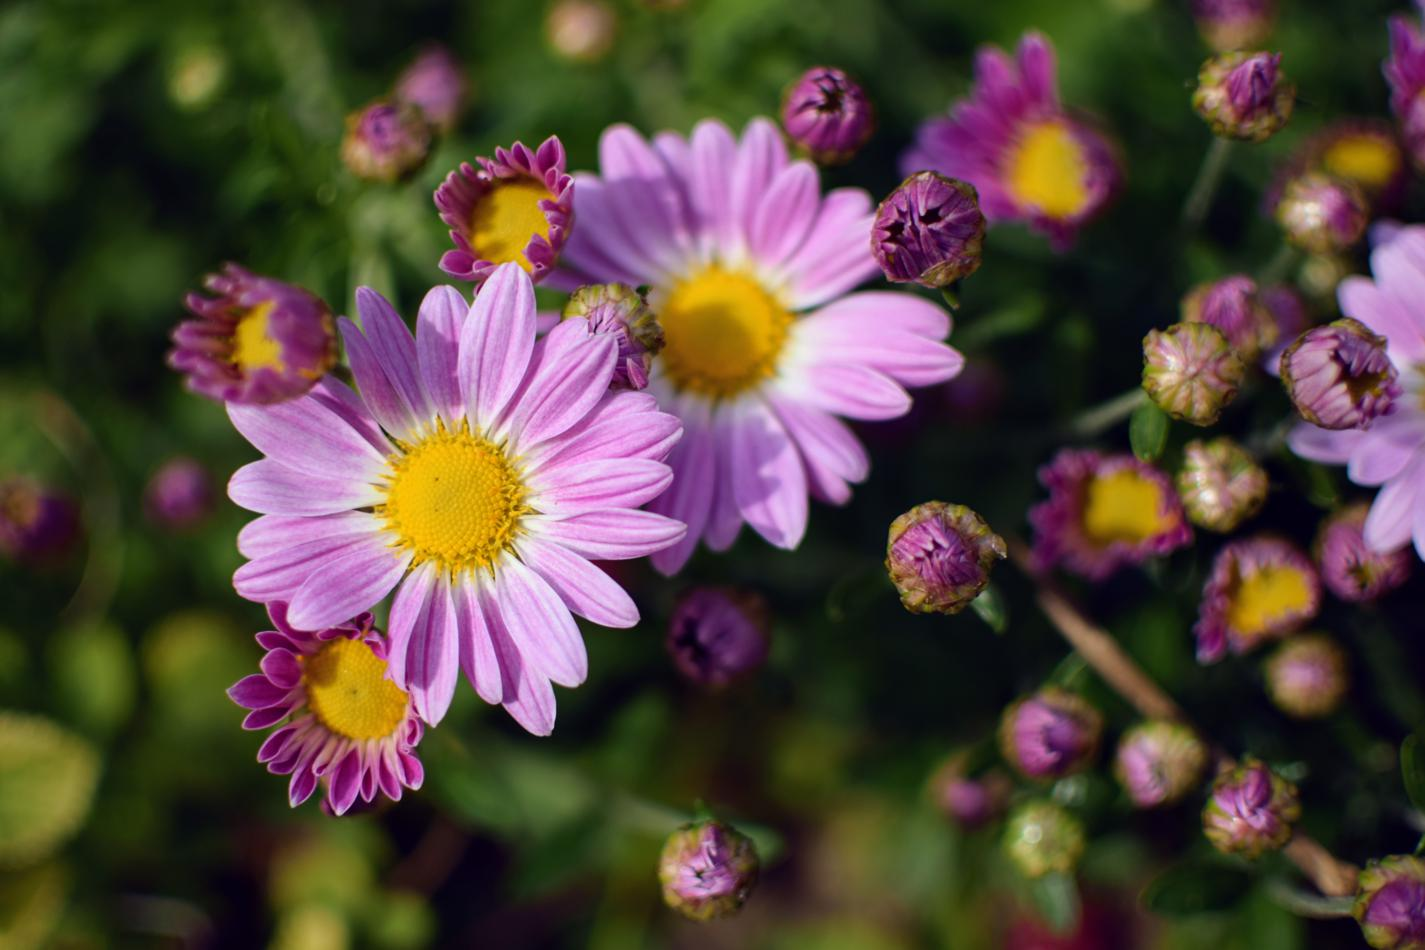
Quite often, I experimented with the aperture setting in the McGovern Centennial Gardens at Hermann Park where I enjoyed photographing flowers. My first photos depicting flowers with a shallow depth of field impressed me. At this point, I felt like I had taken my first photographs that looked “professional.”
On one occasion, I was walking by the reflection pool at Hermann Park when I noticed a scene that drew my attention. This event became one of my first real tests in photography. I pulled out my camera, hastily tried to get the correct settings, and captured a few photos. One of them stood out.
It was a decent picture of a duck swimming in the reflection pool, shown below, leaving behind a trail of ripples. I felt proud of this small victory. If I took too long to determine the best settings, I would have missed the moment and failed to capture it. Getting a somewhat decent shot is better than getting no shot at all.
Lastly, I can safely say that reading through my camera’s manual helped a lot. The manual typically introduced me to the capabilities of my camera that I previously didn’t know! Some features offered convenience. In one instance, I learned that I could designate one of the side buttons to change the ISO setting without having to access menus on the camera screen to do this. I also discovered two autofocus modes: one suitable for photographing subjects at rest, and another for capturing subjects in motion. Learning about these features boosted my confidence in knowing how to best use my camera in any given situation.
Understanding Composition
Unlike learning how to use my camera, I found composition much more tricky to grasp. Composition focuses on how to arrange visual elements in a photograph to create a compelling experience for the viewer. From my background in physics, I was so accustomed to having neatly packaged axioms to guide me. In line with this, I scoured the internet for videos, articles, and books for the best practices regarding composition.
I discovered that the best ways to compose a photograph weren’t always straightforward. On the one hand, I found many general tips that gave some insight regarding compositional mistakes to avoid. On the other hand, I didn’t obtain a foolproof method that would work for every photograph. It took me a long time to realize why this was the case.
Composition merely provides guidelines used to frame a photographer’s unique perspective within a picture. It doesn’t yield a creative vision to a photographer. This mirrors the role of grammar in writing. Grammar dictates the structure of a sentence but does not make creative choices regarding a sentence’s tone, mood, or pacing. Only experience, whether obtained by careful experimentation or by examining the works of proficient photographers and writers, can equip you with a better sense of how to make creative choices.
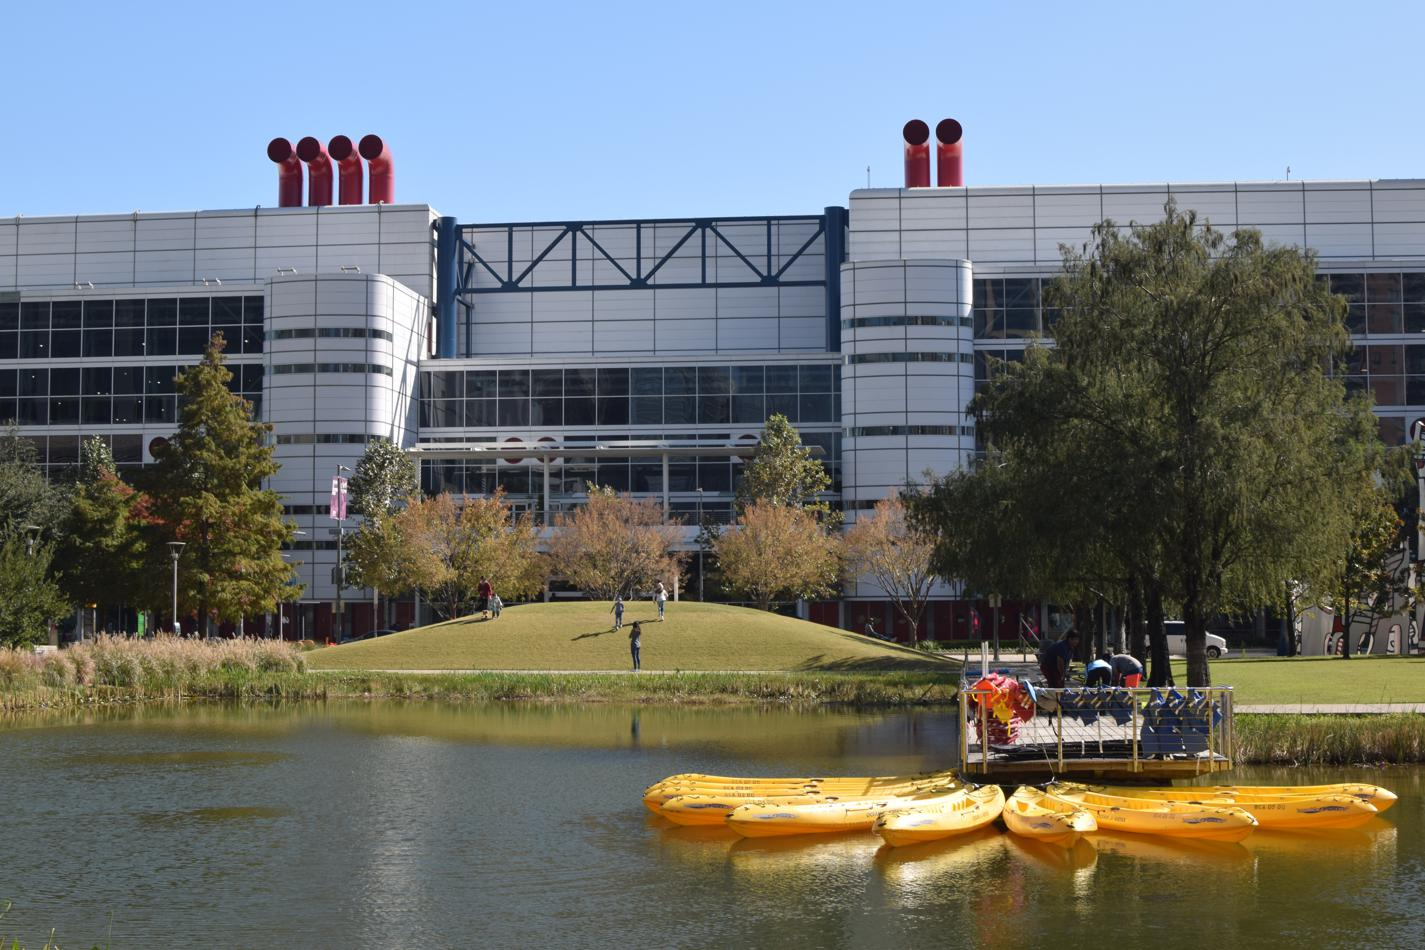
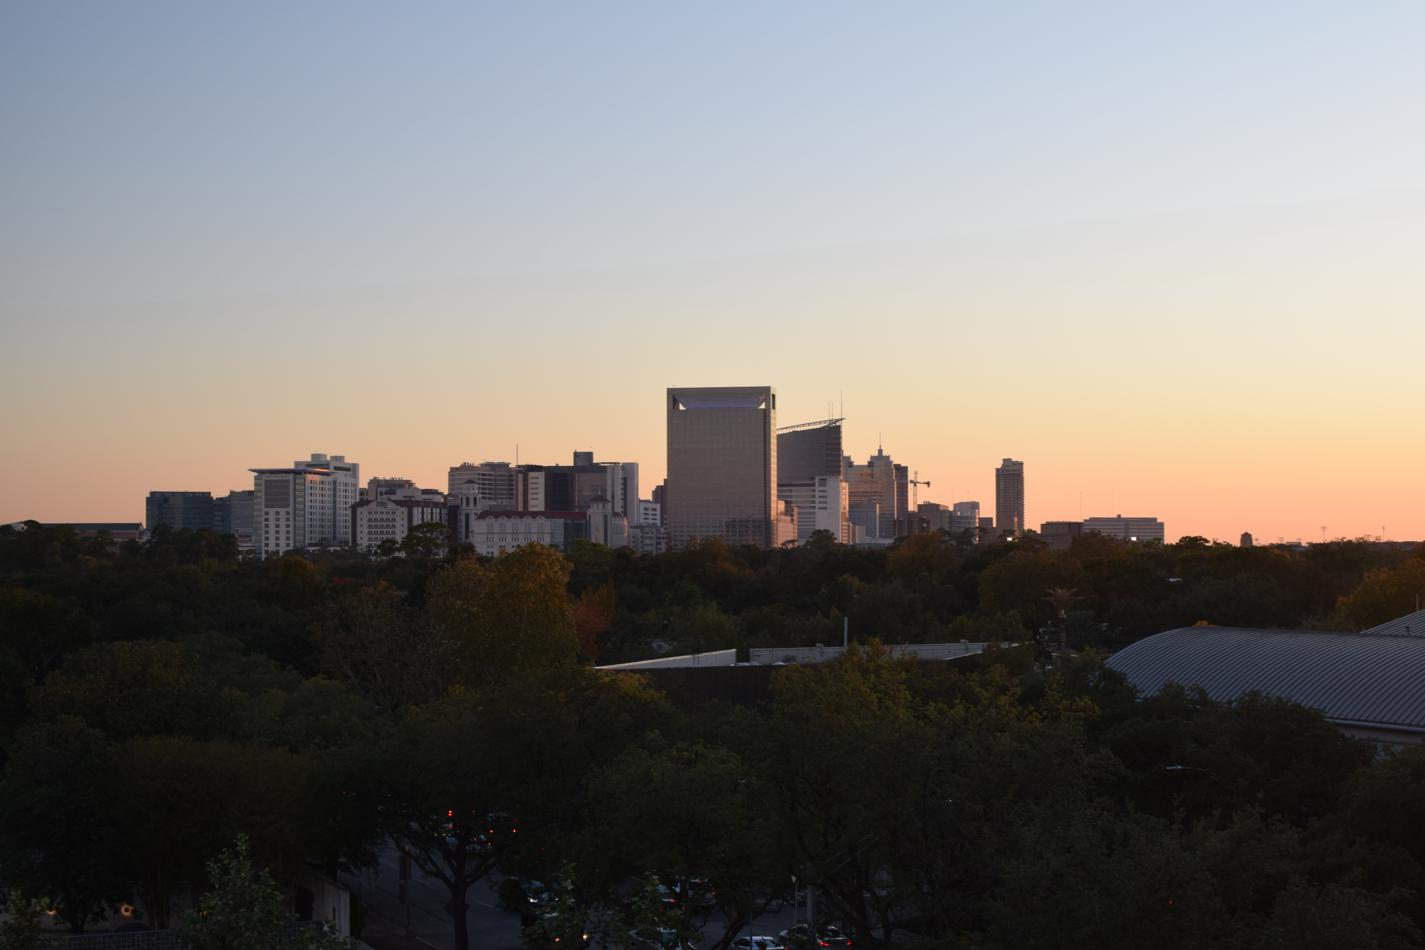
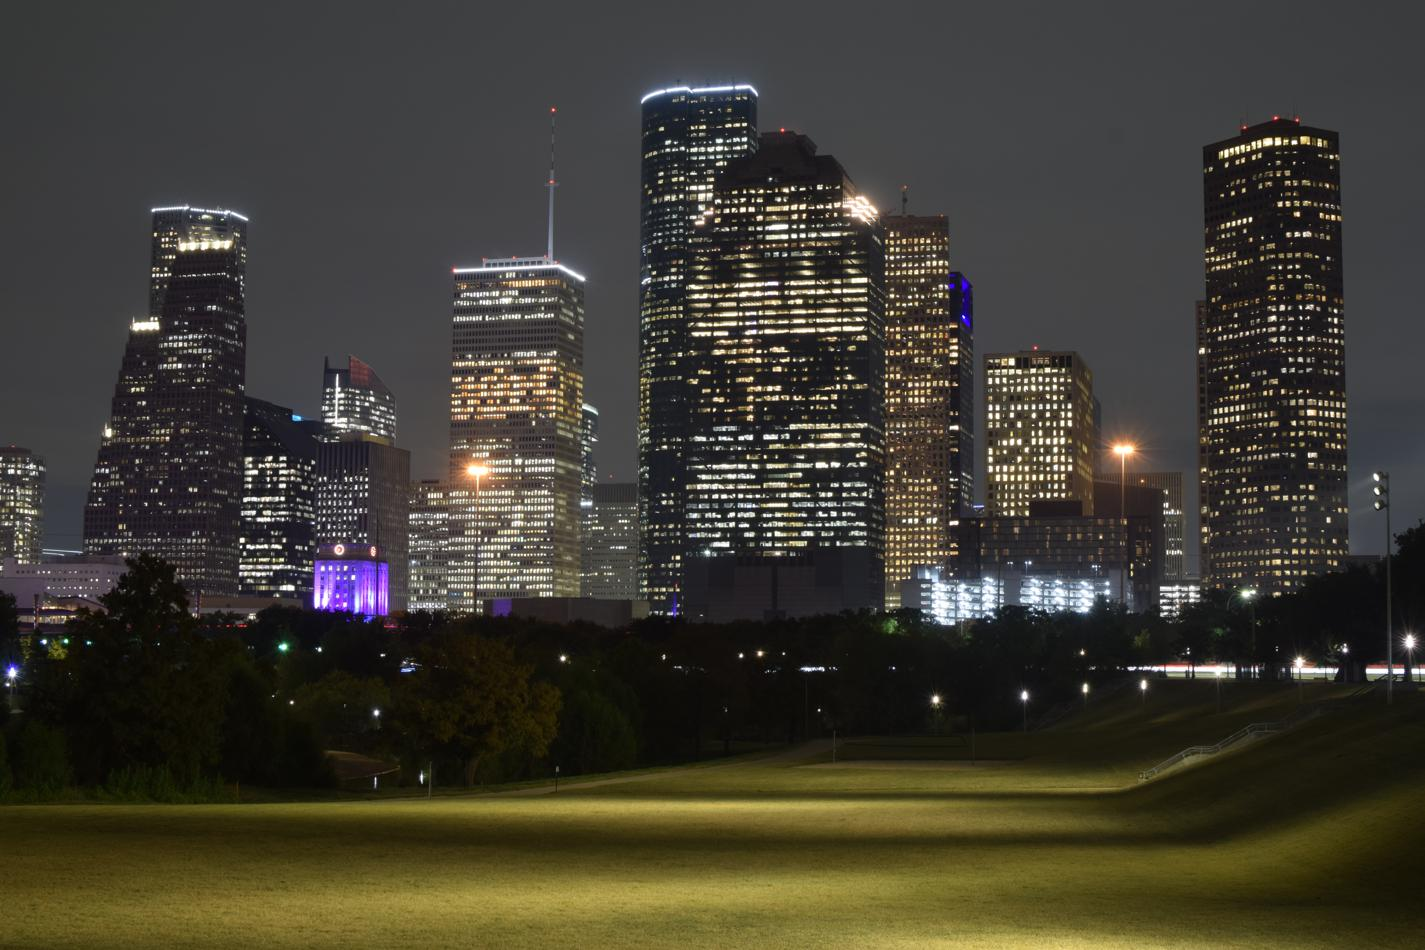
I developed my eye for photography by consistently going outside with my camera (sometimes, daily) to take new pictures and critiquing my work. After reviewing hundreds, if not thousands of photos in my archive, I recognized only a tiny handful of images that I liked. I felt sad about this at first. However, this is the norm for even the most celebrated photographers in history (including Henri Cartier-Bresson). On the positive side, I now had some photographs that I could study to get a sense of my artistic voice.
I see that in some of my early pictures, I heavily gravitated towards symmetry. Perhaps this approach to composition drew its origins from my technical background. Symmetry provides a meaningful contribution to physics (see Noether’s theorem). As a physics student, I received thorough training on recognizing relevant symmetries in a given problem statement. The presence of symmetries often unlocked mathematical shortcuts, making it feasible to derive simple solutions to many homework problems and exam questions. By extension, I found it quite satisfying to identify symmetries in the real world.
Conclusion
I entered the world of photography during a difficult period of my graduate school career. My new hobby lifted my spirits as I got through writing my thesis. Along the way, I taught myself how to use my camera and became acquainted with its capabilities. I also took my first steps in discovering my artistic voice. Even though a year has passed since I started, I still haven’t yet worked out a coherent creative direction I’d like to pursue. Nonetheless, I continue to enjoy my photography journey as I develop as an artist.
Comments
Back to top